
Last updated August 26, 2026
Free on-site gate assessment - hinges, posts, and your LiftMaster or Nice gate operator checked before anything is quoted
The assessment is free and the quote is the invoice.
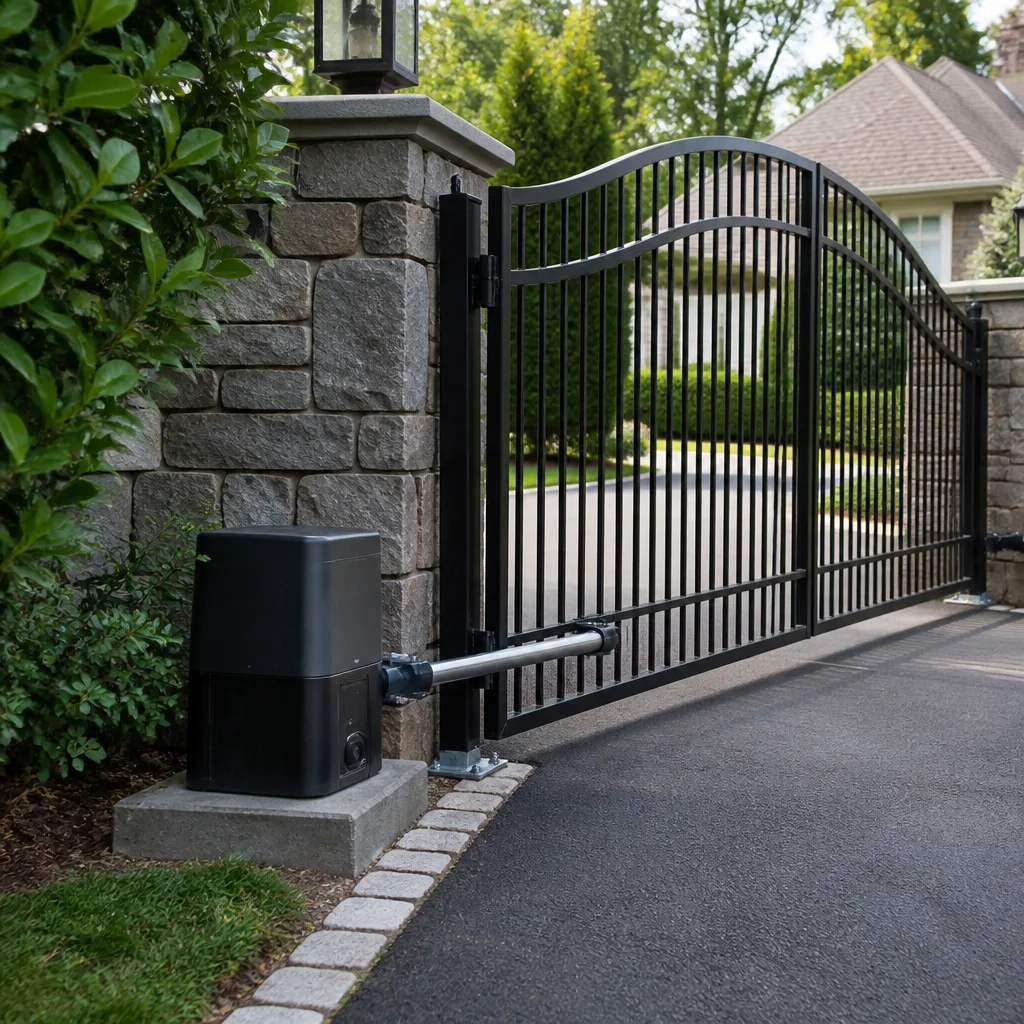
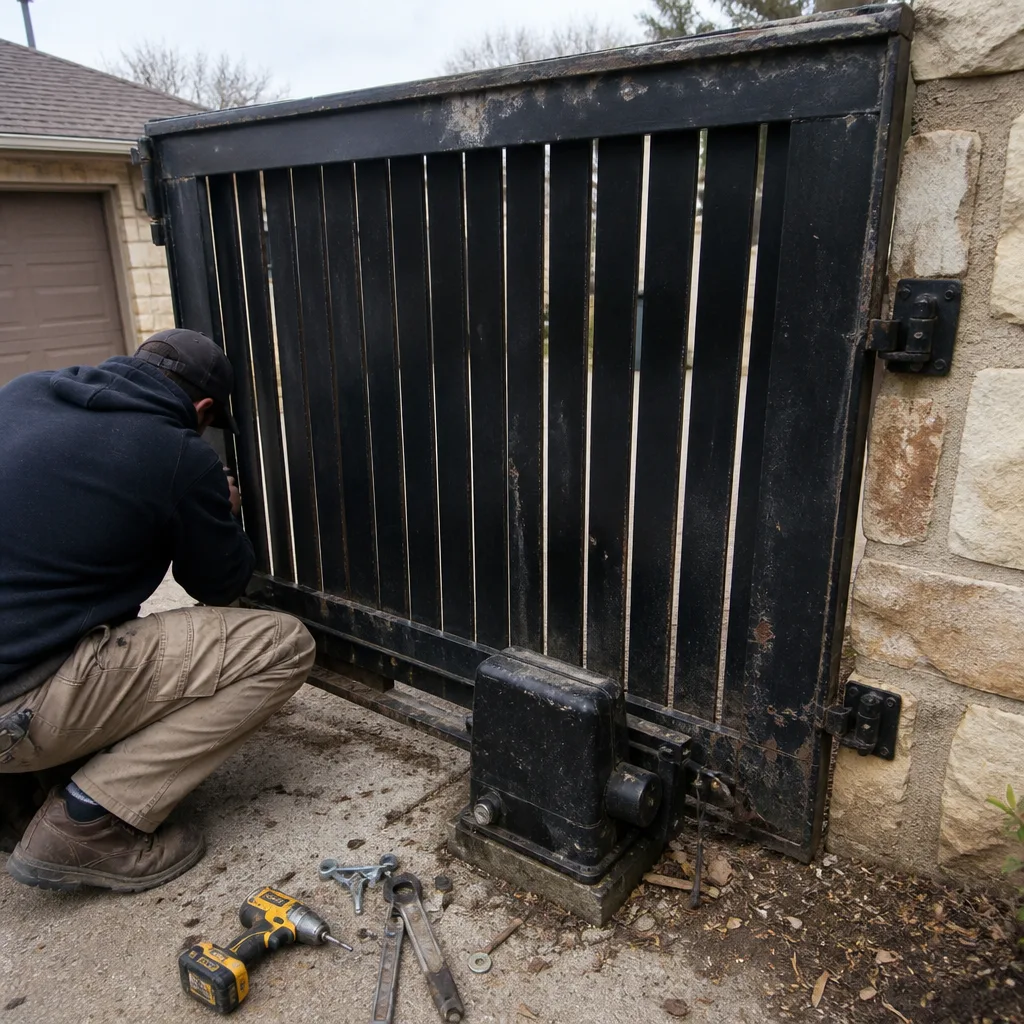 Before
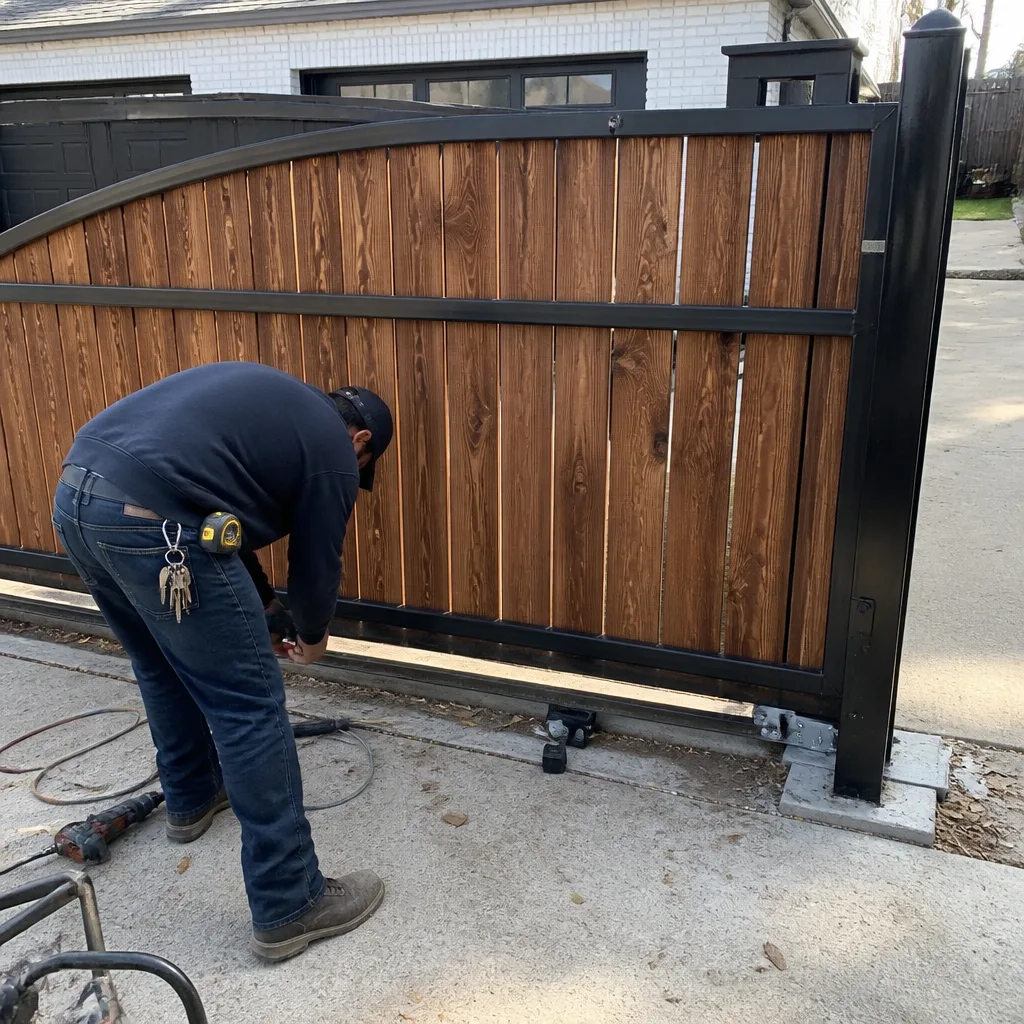 After
After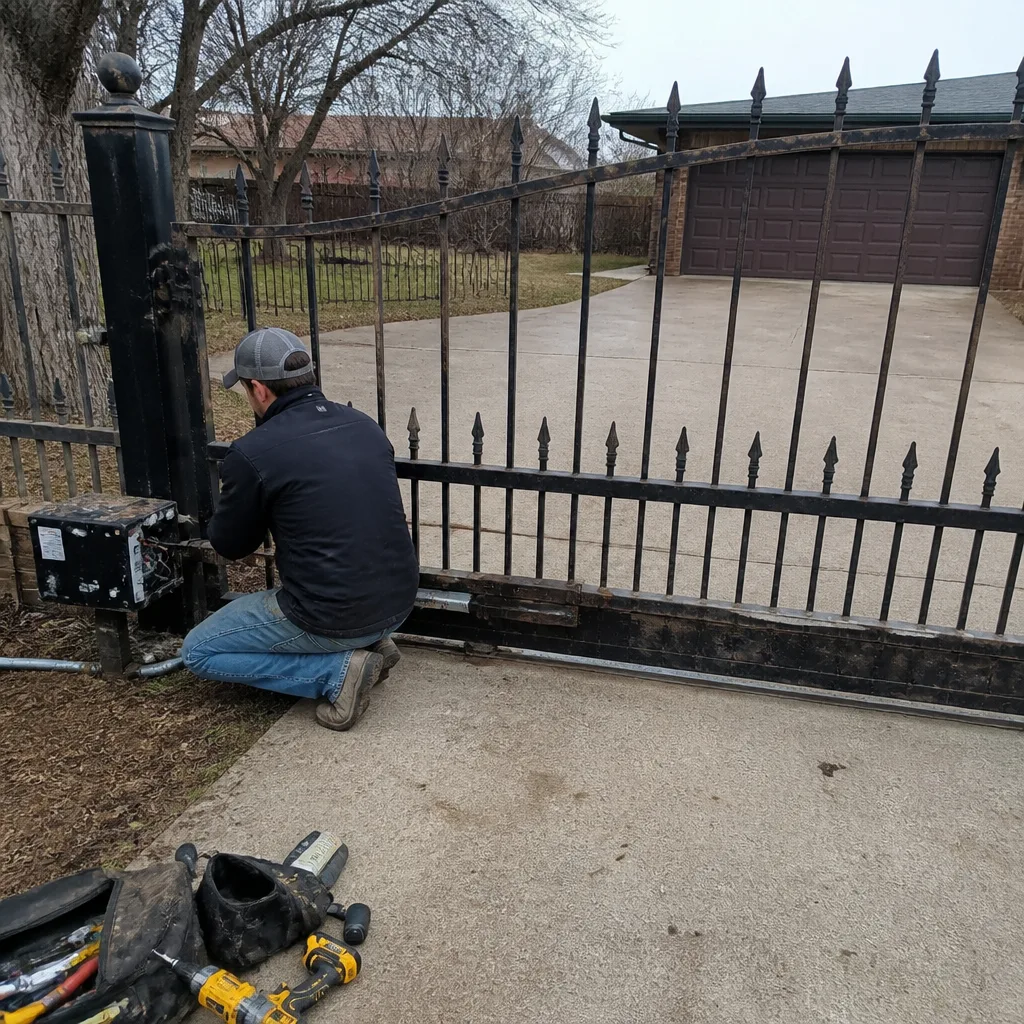 Before
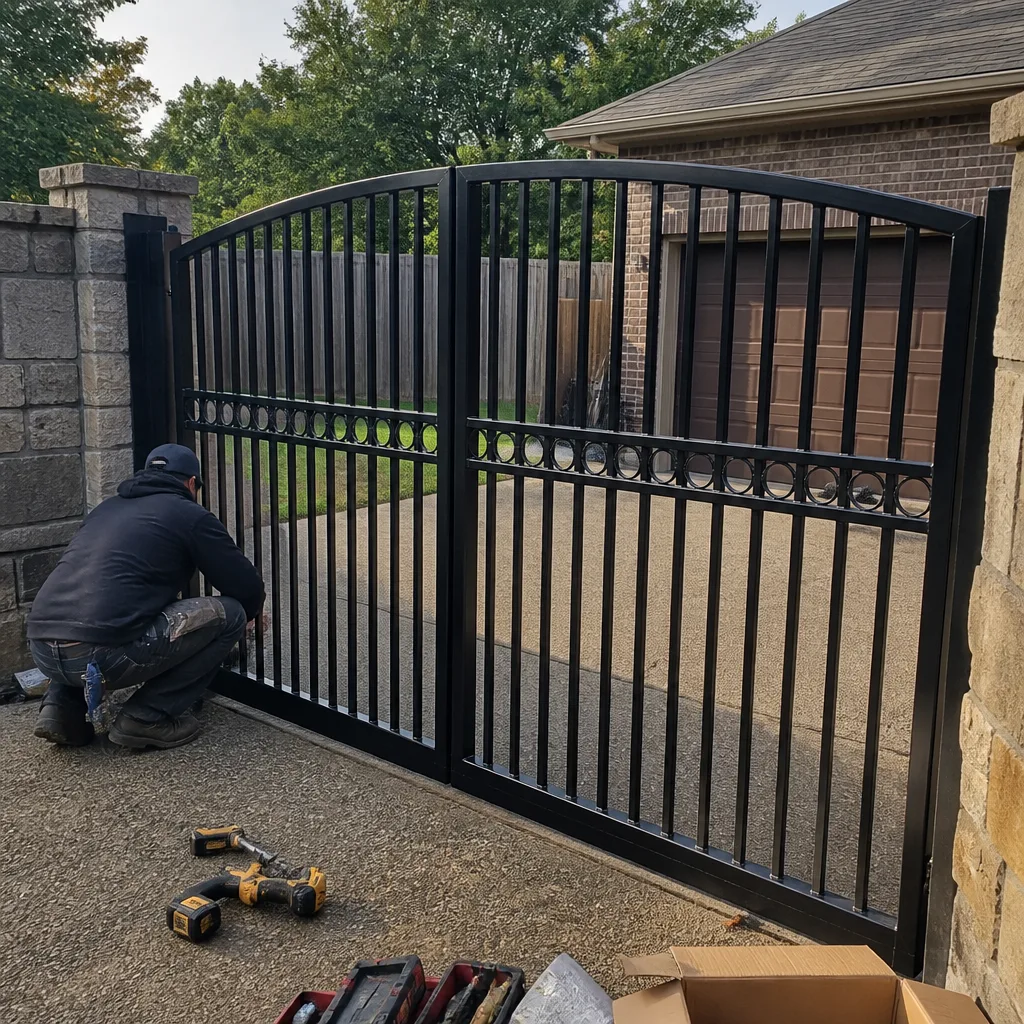 After
After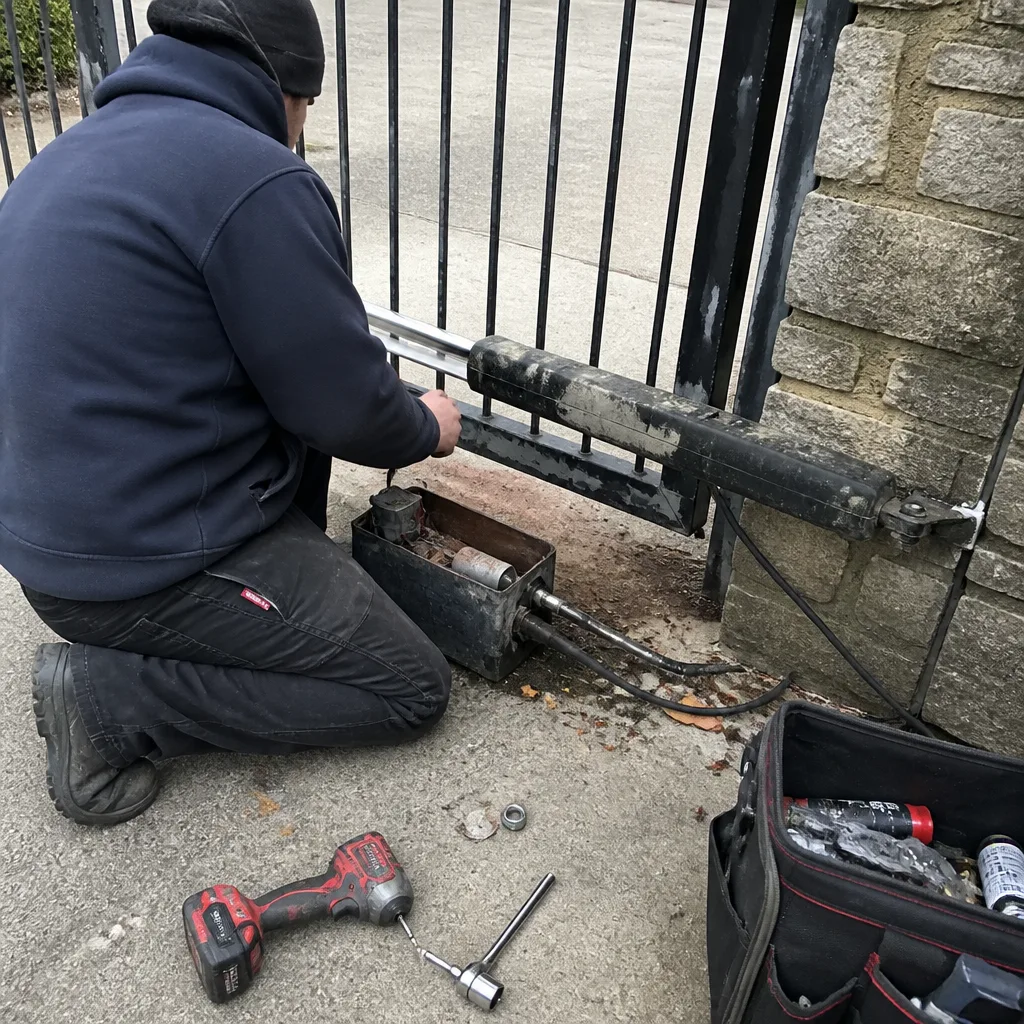 Before
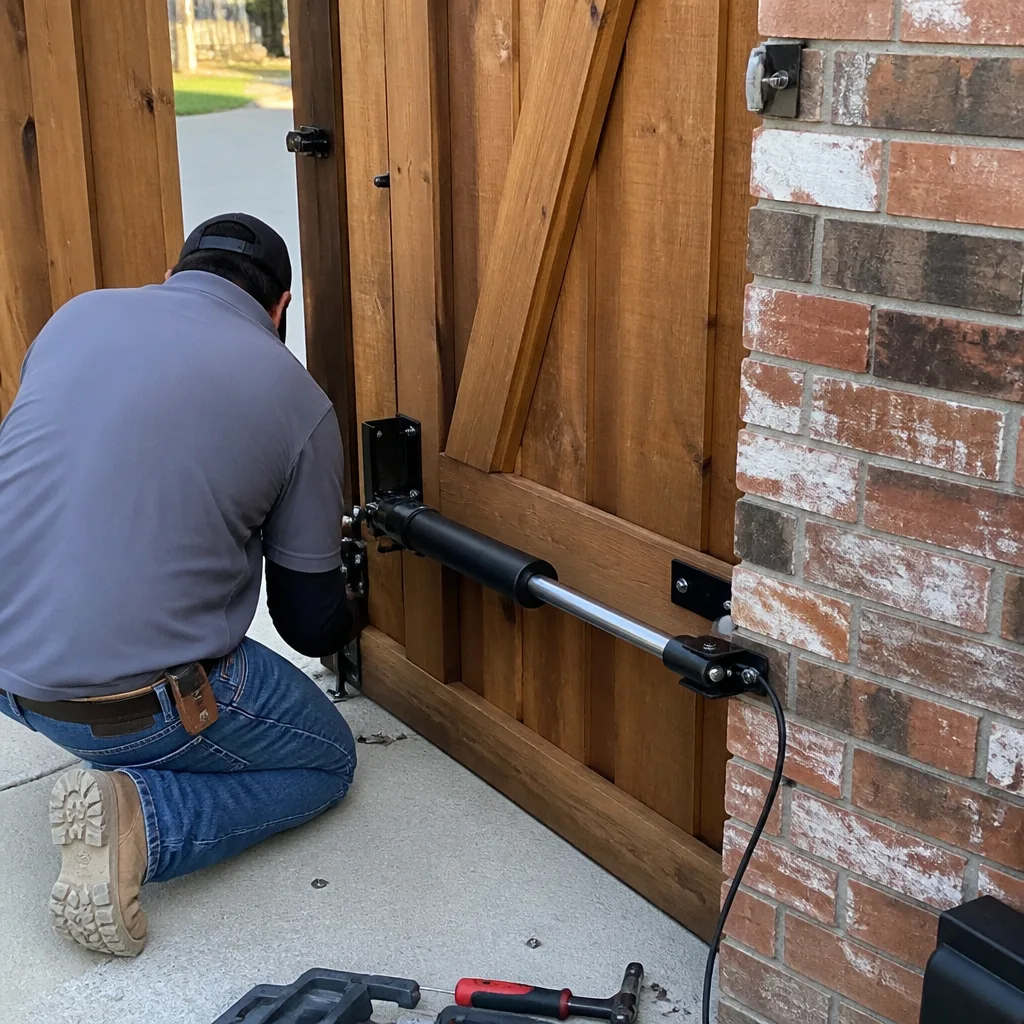 After
AfterGate Repair Maintenance Checklist for North Richland Hills Homeowners
The number-one thing we find on maintenance calls in North Richland Hills isn’t a broken part. It’s a loose set screw on a hinge that somebody finger-tightened two years ago and called it done. That one screw, left alone, wore an oval hole in the hinge plate and turned a $12 fix into a $300 weld job. This guide walks you through the same walk-around I do when a homeowner asks me to look at their gate before it fails. You’ll learn what to check, in what order, and what each finding is actually telling you.
Quick Answer
A gate maintenance checklist for North Richland Hills homeowners is a 15-minute walk-around that follows the mechanical load path from hinge pin to post base, checking torque on every fastener, alignment at every pivot, and operation of the opener under load. Do it twice a year and after every major rain event. The payoff is catching small wear before it becomes a structural failure that costs real money.
Table of Contents
- Follow the Load Path: The Order That Matters
- Hinge Inspection: Set Screws, Plates, and Post Bases
- After Rain in North Richland Hills: What Our Drainage Does to Operators
- Lubrication by Component: Grease vs. Oil vs. Spray
- The Three Sounds a Gate Makes Before It Fails
- Documenting Your Walk-Around: Phone Photos as a Baseline
- Seasonal Checklist: Spring and Fall in North Richland Hills
- Common Mistakes to Avoid
- When to Call a Professional
- Frequently Asked Questions
- The Bottom Line
Follow the Load Path: The Order That Matters
A gate sags in the hinge post, not in the middle. That is the first thing to understand, because it tells you where to start your inspection. Every gate, whether it’s a 12-foot driveway swing or a 5-foot pedestrian walk gate, carries its weight through a chain of components: hinge pins, hinge plates, the post itself, the post base, and the surrounding ground. If you check these in the wrong order, you’ll chase symptoms instead of causes.
The load path works like this: gravity pulls the gate down, the hinge pins resist that pull, the hinge plates transfer the load to the post, and the post distributes it into its concrete footing or the soil. A failure at any link shifts stress to the next component in the chain. When a hinge pin wears, the gate drops slightly and the latch stops lining up. When the post loosens, the gate leans and the opener motor starts working harder. When the base erodes, the post tilts and every other problem accelerates.
Here is the order I use on every single maintenance walk-around in North Richland Hills, and it is the order this checklist follows:
- Hinge pins and set screws: The first point of mechanical contact. Check torque, check for vertical play, check for rust streaks.
- Hinge plates and mounting bolts: Where the pin connects to the gate frame and the post. Look for cracks, elongated holes, and loose bolts.
- The post itself: Plumb, lean, twist, or cracks in the welds.
- Post base and surrounding ground: Erosion, water pooling, concrete spalling, or soil settling.
- Gate frame and pickets: Welds, rust, bent sections, and anything that has changed since the last walk-around.
- Latch and catch assembly: Alignment, spring tension, and striker plate wear.
- Operator and drive system: Motor mounting bolts, arm or chain condition, and force settings.
- Safety features: Photo eyes, edges, and auto-reverse function.
Each stop matters, but the first four are where I find ninety percent of the problems that lead to expensive repairs that our Gate Repair services team sees every week. A gate sags in the hinge post, not in the middle, and that is where we start.
Hinge Inspection: Set Screws, Plates, and Post Bases
If you only do one thing from this entire checklist, check the set screws on your hinges. These are the small Allen-head or hex-head screws that lock the hinge pin into place. On most gates, they were tightened at installation and never touched again. Vibration from daily use, temperature swings, and the constant weight of the gate all work to loosen them. When a set screw loosens even a quarter turn, the pin starts moving inside the hinge barrel. That movement wears metal against metal and creates an oval hole where a round hole used to be. Once that happens, you cannot re-tighten your way out of it. The repair is a weld job, not a wrench job.
Here is what to check on each hinge:
- Set screw torque: Use the correct Allen or hex key and confirm each set screw is snug. If it turns more than an eighth of a turn before it seats, it was too loose. Check all of them, not just the top one.
- Vertical play: Lift the gate slightly at the latch end. Any movement at the hinge, any click or shift, means the pin or the barrel is worn.
- Rust streaks: Brown staining running down from the hinge means water is sitting in the joint and the metal is oxidizing inside. This is the beginning of the end for that hinge.
- Cracks in the plate: Look at the flat part of the hinge where it bolts to the post and the gate frame. Hairline cracks start small and propagate fast, especially on heavier gates.
- Bolt tightness on the post side: Grab the hinge body and try to rock it. If it moves, the mounting bolts are loose. Loose bolts here allow the entire gate to shift under load.
One thing I see constantly in North Richland Hills is hinges that were never the right size for the gate. A 14-foot steel driveway gate on residential-grade hinges is running at the edge of its rated capacity every single day. If your hinges look undersized for the gate they are holding, they probably are. That is worth knowing before the pin shears.
After Rain in North Richland Hills: What Our Drainage Does to Operators
North Richland Hills sits on clay-heavy soil that expands when it gets wet and contracts when it dries. That movement is brutal on gate posts, and it is also brutal on gate operators. After every major rain event, there are specific things to check on your opener, because our local drainage patterns push water where it does not belong.
First, check the area around the operator. Operators for swing gates are typically mounted on the post or inside the gate frame. Operators for slide gates sit on a concrete pad near the track. After a heavy rain, water pools in low spots, and if your operator sits in a low spot, it is sitting in water. Look for standing water within three feet of the unit. If water is pooling there, you need to address the drainage before the board gets fried.
Second, check the length of the arm or chain for debris. Storms in North Richland Hills bring leaves, twigs, and the occasional roofing shingle or fence panel across your driveway. Debris wrapped around a drive arm or shoved under a slide gate track puts extra load on the motor every time it cycles. That extra load burns out capacitors and strips gearboxes.
Third, open the cover and look for condensation. The humidity swings we get after rain, combined with warm days and cool nights, create condensation inside operator housings. If you see water droplets on the circuit board or rust on the motor terminals, that is a problem that will only get worse. A little bit of moisture every spring will eventually corrode a board and the whole operator needs replaced.
Fourth, test the auto-reverse and photo eyes. Wet conditions can cause photo eyes to fog or misalign. Wave your hand in front of the photo eye while the gate is closing. It should reverse immediately. If it does not, that is a safety failure, and it needs attention before the next storm.
The clay soil here is also why posts lean after dry summers. When the soil contracts, it pulls away from the post base, then a heavy rain saturates the gap and the post shifts. If you notice your gate scraping the ground after a rain, or the latch no longer lines up, the post has moved. Walk to the post and sight down it with a level. A quarter-inch of lean at the top of the post translates to an inch or more at the latch end of the gate.
Lubrication by Component: Grease vs. Oil vs. Spray
Here is the thing about lubrication that trips up a lot of North Richland Hills homeowners: the same grease you put on your gate hinges will ruin your chain drive. Different components need different lubricants, and using the wrong one creates a sticky mess that traps grit and accelerates wear.
Hinges: Oil, Not Grease
Hinges need a penetrating oil or a light machine oil. The goal is to get lubrication down into the pin barrel where the pin rotates. Grease sits on the outside and never reaches the wear surface, plus it collects dust and grinds into a paste. A few drops of oil on each hinge pin, worked in by swinging the gate back and forth a few times, is all you need. Do this twice a year.
Chain Drives: Chain Lube, Not Grease, Not WD-40
Chain drives on slide gates need a proper chain lubricant that penetrates the links and then sets up into a film that does not fling off. WD-40 is a solvent, not a lubricant. Grease does not penetrate and it holds dirt. Chain lube is formulated for exactly this application. Apply it sparingly along the full length of the chain, then cycle the gate once to distribute it.
Rollers and Wheels: Dry Lube or Silicone Spray
Roller bearing assemblies and cantilever wheels do better with a dry lubricant or a silicone spray. The dry film coats the bearing surfaces without leaving a wet film that attracts dust. Our summers here in North Richland Hills are dry and dusty, and a wet lubricant on a rolling surface turns into grinding compound by August.
Latch Assembly: Light Oil
The latch and catch mechanism has small springs and sliding parts. A light oil, applied once in the spring and once in the fall, keeps these moving smoothly. If the latch feels stiff or the spring does not return it to closed position cleanly, oil the pivot points and work it a few times.
One last note here: never lubricate the operator arm or the screw drive on a swing gate operator unless the manufacturer’s manual specifically tells you to. Most of these are sealed units, and adding lubricant breaks the seal or attracts contaminants. When it comes to operator internals, leave them alone.
The Three Sounds a Gate Makes Before It Fails
Show me the gate closing on its own and I’ll show you where it’s failing. Gates talk before they break. There are three specific sounds that tell me a gate is headed for a breakdown, and each one points to a different part of the system.
The Squeak: A Dry Hinge or Pin
A high-pitched squeak when the gate swings means a hinge pin is running dry. This is the easiest fix on the entire gate. A few drops of oil on the pin and the squeak goes away. But a squeak that only appears at one point in the swing, not through the whole swing, is different. That usually means the pin is bent or the barrel is worn into an oval, and the metal is binding at that spot. Oil will quiet it temporarily, but the underlying wear is already there. If the squeak comes back within a few weeks, the hinge needs replacement, not more oil.
The Grind: Gravel or Metal in a Roller or Track
A grinding sound on a slide gate almost always means debris in the track or a failed bearing in a roller. If the sound is rhythmic and matches the speed of the gate moving, the issue is a specific wheel. If the sound is constant, the track itself may be damaged or misaligned. For swing gates, a grinding sound from the operator means the internal gear or the arm attachment is wearing. This sound indicates metal-on-metal contact somewhere, and it will not fix itself.
The Clunk or Thump: Something Loose, Usually a Mount
A clunk or thump at the start or end of the gate’s travel means something is loose. It is often the operator mounting bolt, the arm attachment point, or the post bracket that holds the operator to the post. The gate shifts under load, hits the loose connection, and the clunk is the sound of that shift. On slide gates, a clunk can also mean the rack is loose on the gate panel or the chain is sagging and slapping against the frame.
When you hear any of these sounds, do the walk-around the same day. The sound is the gate telling you where the stress is, and catching it at the sound stage keeps the repair small.
Documenting Your Walk-Around: Phone Photos as a Baseline
The most useful maintenance habit you can develop is taking phone photos of your gate on a regular schedule. When a gate finally fails, the question is always, “Has it always looked like that, or is this new?” Without a baseline, you are guessing. With photos, you can hand me your phone and show me exactly how much the gap has changed, how far the post has leaned, and where the rust was last spring.
Here is the photo set I recommend:
- The full gate, closed, from the driveway side: Stand at the same spot every time. This gives you an overall view of alignment.
- Close-up of each hinge, top and bottom: Capture the set screws, the plate, and where the hinge meets the post. These are your highest-wear components.
- The latch area, gate closed: Show the gap between the latch and the catch. This gap tells you if the gate has dropped.
- The post base at ground level: Show the soil line, the concrete, and any cracks. After a rain, the changes show here first.
- The operator housing, cover off: Show the board, the wiring, and the motor. Moisture intrusion shows up as rust or residue.
- The full length of the drive system: The chain, track, arm, or screw drive, showing wear and lube condition.
- A level on the post: Place a level against the post and photograph the bubble. This documents lean objectively.
Store these in a dedicated album on your phone. The album name does not matter, but the consistency does. When something changes, you will see it immediately, and you will be able to show exactly what changed. That turns a vague worry into a specific repair, and a specific repair is always cheaper.
Seasonal Checklist: Spring and Fall in North Richland Hills
Twice a year works for most gates here. Spring and fall match our climate: after the spring rains pass and before the summer heat arrives, then after the summer heat breaks and before the winter cool front sets in. Each season has its own focus because our weather patterns in North Richland Hills are consistent enough to plan around.
Spring Walk-Around (After the Spring Rains)
- Check post bases for erosion: Spring rains sit in our clay soil and soften everything around the post. Look for soil settlement, water pooling, or a gap between the concrete and the soil.
- Test operator function under load: Humidity and condensation from spring rain are hard on circuit boards. Open the housing, look for moisture, and cycle the gate several times.
- Lubricate hinges and chain: This is one of your two annual lubrication sessions. Oil the hinge pins and apply chain lube if you have a chain drive.
- Check the photo eyes: Spring pollen and rain residue build up on the lenses. Wipe them clean and test the auto-reverse.
- Retighten set screws and mounting bolts: The freeze-thaw cycles and rain saturation of spring loosen hardware. Check every fastener you can see.
Fall Walk-Around (Before the Winter Front)
- Check for rust and touch up paint: Summer heat and sun bake the finish and expose bare metal. Surface rust now is a wire brush and a coat of paint. Surface rust in spring is a section of gate cut out and replaced.
- Inspect welds on the frame and post: The expansion and contraction of our summer heat cycle stresses welds. Look for hairline cracks, especially where hinges and brackets are welded.
- Lubricate hinges and chain again: Your second annual lubrication. This carries the gate through the winter.
- Check the latch and spring: The cold months are when latches that were marginal in summer become completely non-functional. The spring loses tension, the alignment shifts, and the gate will not stay closed.
- Clear the track and ground contact points: Fall leaves in North Richland Hills pile up along fence lines and gate tracks. Clear them out before they decompose into a wet mat that holds moisture against the metal.
A gate that passes both of these walk-arounds each year will still wear, but it wears on your schedule, not on the schedule of whatever broke at midnight on a holiday weekend.
Common Mistakes to Avoid
- Finger-tightening set screws and calling it done. I see this constantly. A set screw that is not actually snug allows pin movement, and pin movement wears the hinge barrel into an oval. If you can turn it by hand with the Allen key and no real effort, it is not tight enough.
- Lubricating everything with the same grease. Grease on hinges just sits there collecting dust. Grease on a chain drive does the same. Matching the lubricant to the component is the difference between maintenance and an accelerated wear cycle.
- Ignoring the post base because “the gate still opens fine.” Most post failures in North Richland Hills start at the base, not the top. If the soil is eroding or water is pooling at the bottom, the post will eventually move. When it moves, the gate drags, the opener strains, and the repair is no longer a maintenance item.
- Adjusting the latch to compensate for a sagging gate. Moving the catch plate or bending the latch to make it line up is fixing the symptom while the hinge continues to wear. Fix the panel without the post and you’ll fix it twice.
- Never opening the operator housing. If you never look inside, you will not see the condensation that is corroding the board until the day the gate will not open. Opening the cover is part of the walk-around, every time.
- Skipping the photo documentation. Without a baseline, a slow-developing problem is invisible until it becomes a sudden failure. The photos are free insurance.
- Waiting until the gate stops working to call for help. Every repair is cheaper at the sound stage than the failure stage. A squeak that costs a few drops of oil today costs a hinge replacement in six months, and a post replacement the year after that.
When to Call a Professional
Some things on a gate are genuinely dangerous to work on yourself. High-tension springs on cantilever slide gates, heavy gate panels that need lifted, and opener arms under load can all cause serious injury if they let go. If you see a cracked weld on a hinge plate, a post that has visibly leaned, a chain that has jumped a sprocket, or an operator that will not reverse when it meets resistance, that is the point to call someone who does this every day. Gatewood Fence & Gate offers free estimates in North Richland Hills. Call (817) 241-4067 and I will look at it myself, or you can drive to the shop and look me in the eye. The name is on the shop, and the shop is down the road. That is the oldest accountability there is. For more on how we handle repairs, see Gate Repair in North Richland Hills.
Frequently Asked Questions
Fifteen minutes if you know what you are looking at. The load path inspection covers hinges, plates, posts, the latch, the operator, and the safety features. The first time you do it, give yourself half an hour. After two or three sessions, it becomes a routine that fits into a lunch break. If you find problems, the time is an investment, not a cost.
Check your gate opener after every major rain event. North Richland Hills sits on clay soil that swells and shifts with moisture changes, and that movement affects post alignment and operator mounting. Water pooling around the operator, debris in the track, and condensation inside the housing are the three things to look for. Catching moisture early keeps the board from corroding.
Use a dedicated chain lubricant, not grease and not WD-40. Chain lube penetrates the links and sets up into a film that stays put. Grease sits on the surface and holds dirt. WD-40 is a solvent that strips away whatever lubrication was there. Apply sparingly and cycle the gate once to distribute it.
Most of the maintenance on this checklist costs nothing but time. Lubricants run $8 to $20 for a can or bottle that lasts years. A hinge replacement typically runs $100 to $300 depending on the gate size and hinge type. A post reset starts higher because it involves concrete work. The cheapest repair is the one caught at the squeak stage. For an exact quote on any of this, call (817) 241-4067 and I will give you a number before any work starts.
You can absolutely do the walk-around yourself. That is the point of this checklist. You check torque, look for movement, document wear, and listen for the sounds that signal failure. You call a professional when you find something structural: a cracked weld, a leaning post, an operator that will not reverse. For more guides & resources like this checklist, see our blog. The homeowner who does the walk-around catches problems at the $12 stage instead of the $300 stage.
Your gate leans after rain because the post has shifted in the clay soil. North Richland Hills clay expands when wet and contracts when dry, and repeated cycles loosen the post base. A gate sags in the hinge post, not in the middle. If the latch stops lining up or the gate scrapes the ground after a storm, sight down the post with a level. A quarter-inch of lean at the top means an inch or more at the latch end.
The Bottom Line
A gate maintenance checklist is not a chore. It is a 15-minute walk-around that follows the load path from hinge pin to post base, and it catches the small things before they become structural failures. Check your set screws, oil your hinges, look inside the operator housing after rain, and document everything with phone photos. The sounds a gate makes are telling you where it is failing, and the photo album is telling you how fast it is changing. Do this twice a year in North Richland Hills and you will stop buying emergency repairs and start scheduling routine maintenance on your own terms. If you find something during your walk-around that you are not sure about, call (817) 241-4067. I will come look at it, and the estimate is free. Whether you are considering a Gate Installation in North Richland Hills, need a Gate Motor & Opener in North Richland Hills checked out, or just want someone to walk the load path with you, we are here. You can find more about who we are and what we do at our Gatewood Fence & Gate home page.
Written by Hal Gatewood, Owner at Gatewood Fence & Gate, serving North Richland Hills since 2001.